

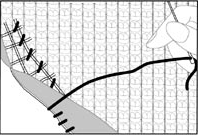
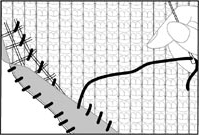
A. Hold the two ends of the wire evenly between the thumb and forefinger and move the loop around the crochet.

B. Insert your crochet under the double yarn of the cloth until the crochet flap reaches above the yarn.

C. Put the ends of the yarn in the hook and gently pull the hook down until the flap closes and holds the yarn.

D. Release the ends of the thread by holding the canvas further and pull the crochet thread through the knot.

E. Gently pull the ends of the thread to make the knot firm.
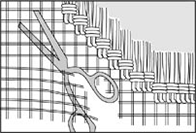
A. Carefully cut the fabric over 3 cm around the sewing pattern.
B. Cut the ends to size and turn exactly on the embroidered edge, sew and cut the surplus so that the canvas does not fall apart. Be careful to fix the frame bitmap and not the wool yarn. So catch the whole contour.
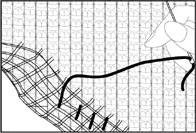
C. Applying the contour strip: Place the edge of the contour strip all over the outer edge of the carpet and then sew it firmly and carefully.
D. Turn the tape over the lower back and sew in small steps so that each web thread is securely attached to the web
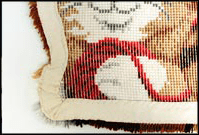
E. Now the rug on the back has a beautiful and firm finish that will last as long as possible.